

Fire Pits are a great addition to any outdoor living area and the BBQ Online Showroom would like to show you how to set-up a prefabricated fire pit. We recommend seeking out a professional plumbing service to assist in running the gas line to your fire pit. This tutorial will also touch on the aesthetic options available to you when considering the look of your fire pit. We will showcase and demonstrate the use of standard lava rock, fire glass and talk about some less used applications that are out there.
Getting Started
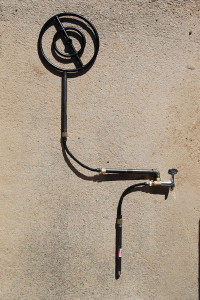
We need to first take a look at how the key valve and plumbing will be setup. We have laid out the plumbing on the ground in the photo to the right to illustrate a basic plumbing configuration for a fire pit. Your configuration will obviously differ from our pit slightly, but for the most part this is what it should look like internally. We’ve also included an illustration below to show how it would layout within the fire pit used in our example.
The Gas Stub
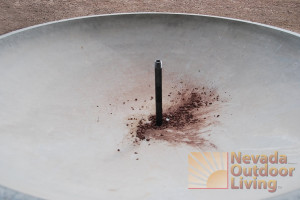
This brings us to the gas stub in the photo to the right. You don’t have to use a solid pipe like the one shown. You have the option of using a gas flex line which is sometimes easier depending on the situation. A gas flex line is shown in the photo above that demonstrates the configuration of the plumbing and key valve. The flex line is a great solution to tight spaces and when you need to bend around objects. It’s also useful when attaching fire pit rings, h-burners, u-burners and any other situation where you need flexibility in a gas line.
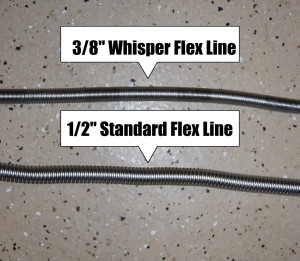
”Beware of the whistle”. It’s important to understand that some flex lines do have a loud whistle caused by gas flowing thru them. There’s nothing worse than installing your fire pit and finding out that it whistles. There is a solution to the problem though. The “Whisper” flex line will drastically reduce the noise emitted from the gas flow. The photo below shows an example of a standard flex line compared to a whisper flex line.
Connecting the Fire Ring to the Stub
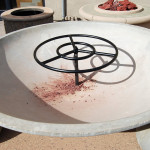
Connecting a Fire Ring is a straight forward task with only two options, orifices up or down. When using a liquid propane gas source you must install the Fire Ring with orifices facing up. You can go either orifices up or down when using a natural gas source. The only difference with installing your fire ring with the orifices facing down is an increase in the dispersal of your flame. As mentioned previously, this is only an option when you are using a Natural Gas source. Warning! If you set up your fire ring with the orifices down in an LP application you’re going to create a drastic ignition situation which is unsafe and not recommended.
Fire Pit Aesthetics
How your fire pit looks is entirely up to you! You will want to either use sand or lava rock as a base fill. We 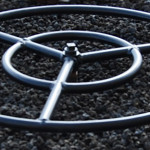 recommend using lava rock as a filler. Lava tends to be porous and crag like, enabling oxygen to flow through the base fill of the fire pit. You can even bury the fire ring inside the lava and it will still function properly. Sand can have adverse effects that include the granules falling into the fire ring orifices, reducing oxygen that’s needed and choking out the actual flame. If you decide to use fire glass in your design it is recommended that you still use lava rock as a filler, filling it all the way up to the ring like the sample photo to the left. Fire Glass can then be spread in a 1-3 inch fill depending on your budget and or preferences. We have included some example set-up scenarios in the photo gallery below.
-

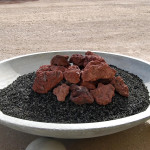
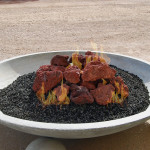
- 1/4 inch black lava fill with red soft ball size lava in the center
-
- 1/4 inch black lava with red soft ball surounding the edge
-
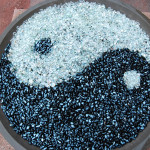
- Prefabricated Fire Pit with yin and yang fire glass design by the bbqonlineshowroom.com
-
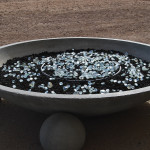
- 1/4 inch black lava with fire glass sprinkles
-
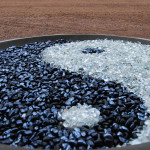
- 1/4 inch black lava fill with 2 inch fire glass fill (yin and yang design)
-
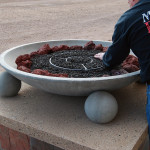
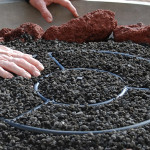
- Tim Holleran assembling a BBQ Online Showroom Fire Pit
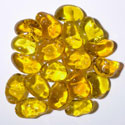
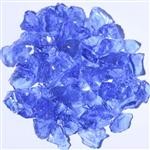
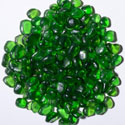
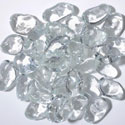
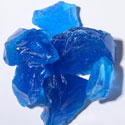
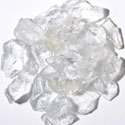
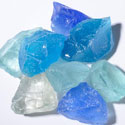
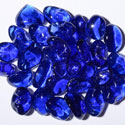
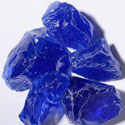
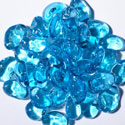
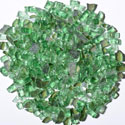
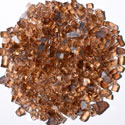
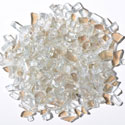
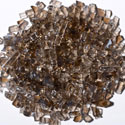
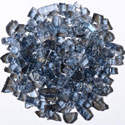
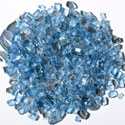
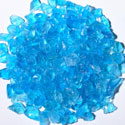
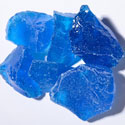
Fire Glass and Lava Choices
-
- 1/4 inch black lava fill with 2 inch fire glass fill (yin and yang design)
-
- 1/4 inch black lava with fire glass sprinkles

-
- Tim Holleran assembling a BBQ Online Showroom Fire Pit

The BBQ Online Showroom is the place for all your outdoor living needs. Come check us out at http://www.bbqonlineshowroom.com.